Telephone/WhatsApp:+86 156 2656 0610

Telephone/WhatsApp:+86 156 2656 0610
Email:seekmach@gmail.com

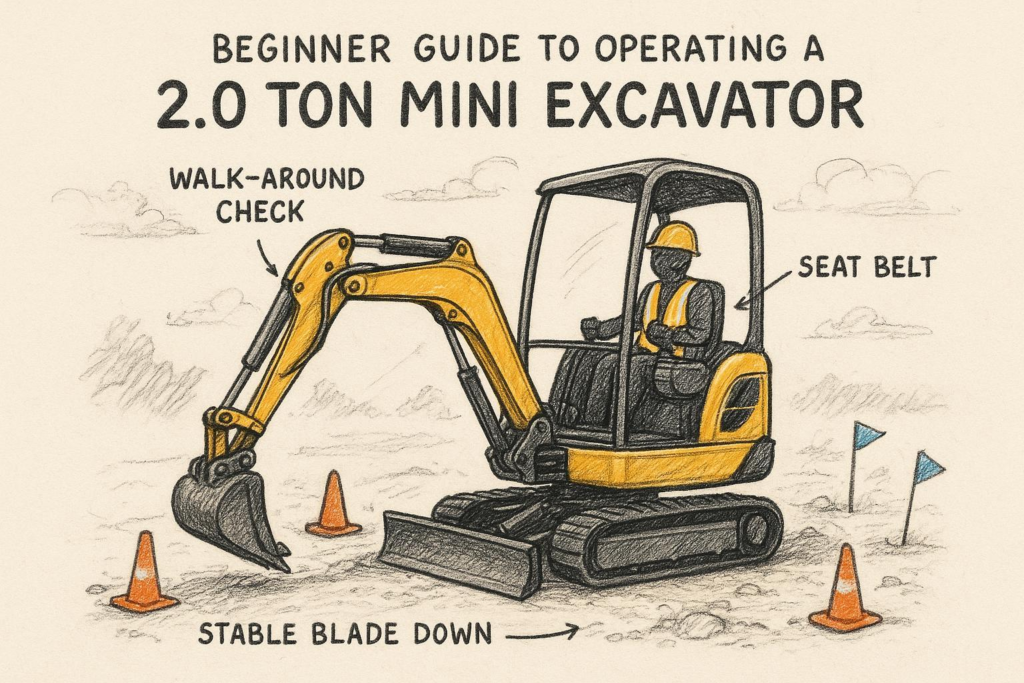
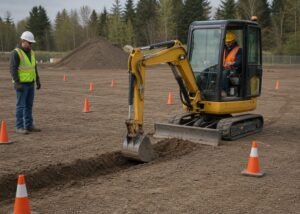
If you’re new to a mini Excavator, the fastest way to get competent isn’t memorizing every lever first.
It’s learning to be predictable: predictable machine movement, predictable jobsite boundaries, predictable checks, predictable shutdown. That’s how you avoid the mistakes that actually hurt people and break equipment.
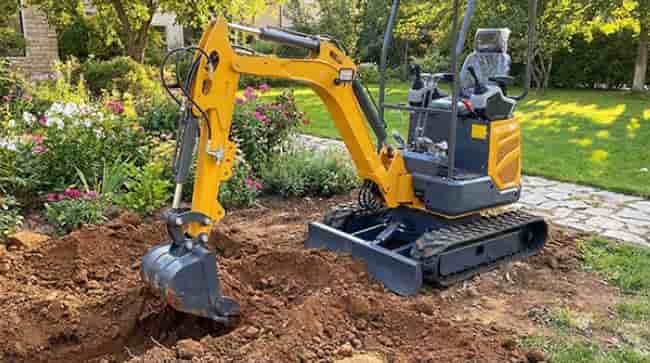
This guide takes a beginner-first, incident-prevention angle—and uses the 2.0 Ton Excavator class (specifically the 2.0 Ton Excavator SM-20Eco) as the reference point for what to check, what to practice, and what to stop doing immediately.
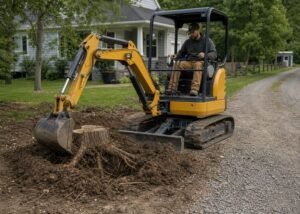
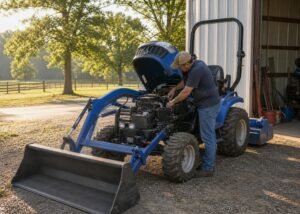
A mini/compact excavator is essentially a smaller hydraulic excavator (boom + stick + bucket on a rotating upper structure) designed for tight access and lighter earthmoving. Wikipedia’s excavator overview notes the smaller machines are often called mini or compact excavators.
So why do so many first-time operators end up in the ~2-ton range?
Below is a spec snapshot pulled from the product page so beginners can connect “what the machine can do” with “how you should operate it.”
| Spec | SM-20Eco (published) | Why a beginner should care |
|---|---|---|
| Operating weight | 2000 kg | Heavier machines carry more momentum—smooth inputs matter. |
| Overall width | 1100 mm | Width decides access (gates, side yards) and stability feel. |
| Overall dimensions (L×W×H) | 2300 × 1100 × 2200 mm | Helps you judge transport/clearance and tail swing space. |
| Min tail swing radius | 840 mm | Sets your “do-not-enter” buffer behind/side of the machine. |
| Bucket capacity (SAE) | 0.03 m³ | Overfilling is a stability and control problem—not a productivity flex. |
| Max digging depth | 2100 mm | Helps you plan trench depth without overreaching. |
| Hydraulics (pressure / max flow) | 22 MPa / 35 L/min | Impacts attachment performance and control response. |
| Travel speed | 2.2–4.3 km/h | Slower is normal—rushing travel is how you tip on uneven ground. |
| Gradeability | 45° | A capability number—not a suggestion to work on steep slopes. |
⚠️ Warning: Published specs describe capability under certain conditions. On real ground, stability and safety are usually limited by slope, surface, load position, and operator inputs—not by the spec sheet.
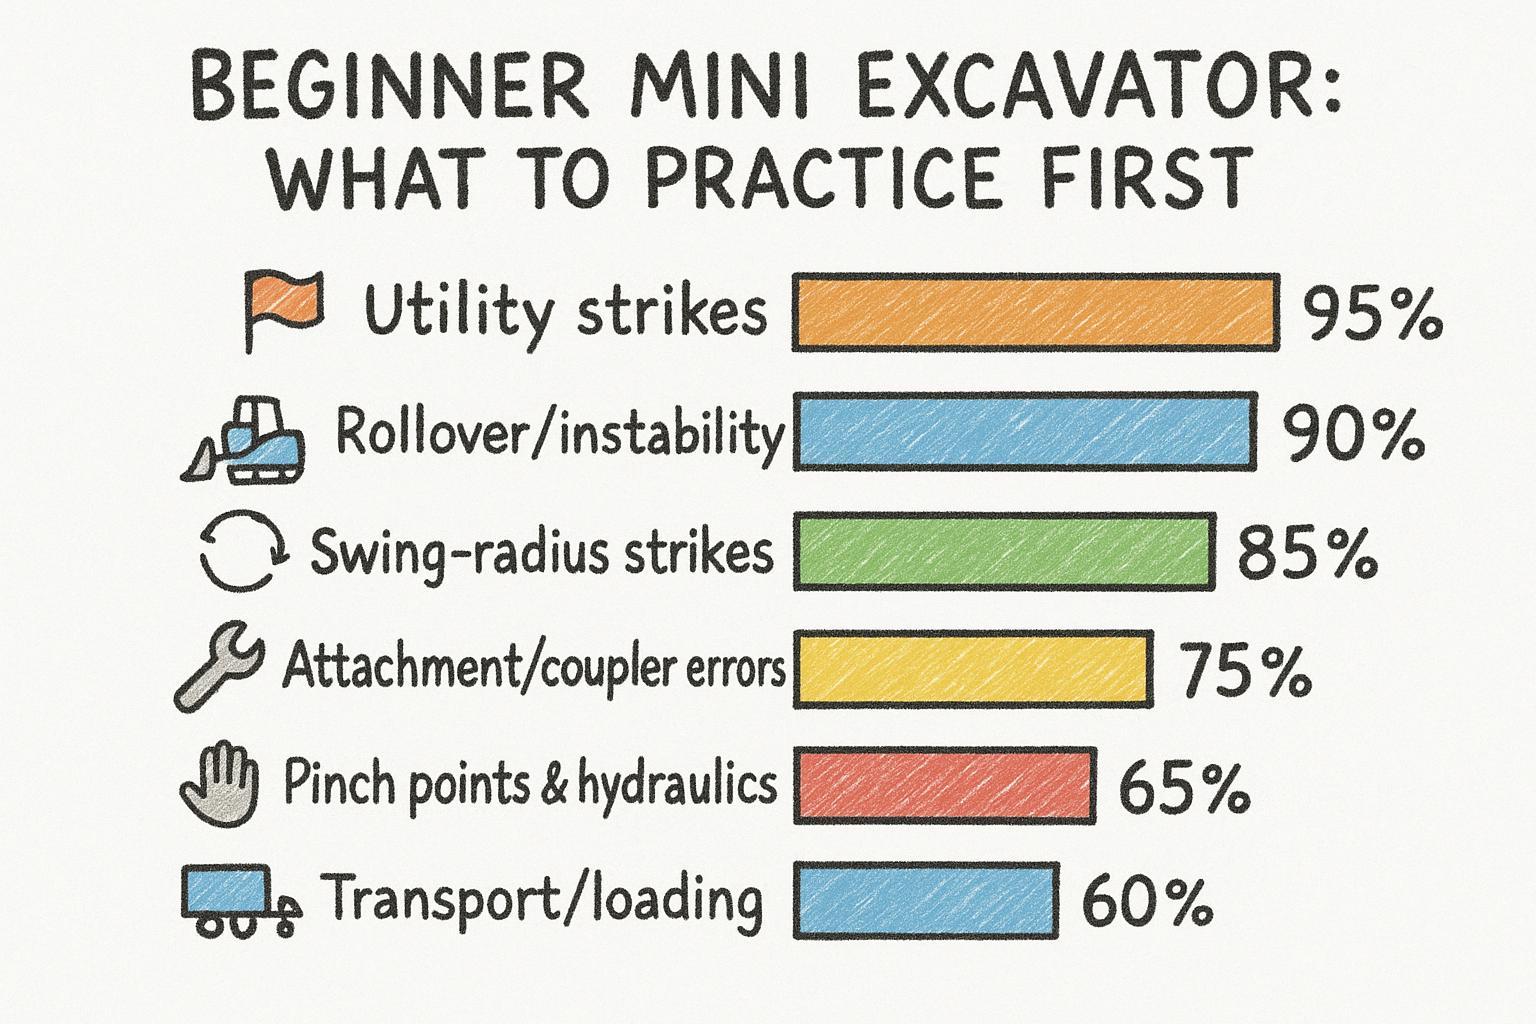
Most beginner training is backwards: people jump to digging technique, then discover later that they never learned jobsite risk control.
Here’s a simple prioritization model for what new operators should practice first.
And if trenching is part of your job, start with OSHA’s Trenching and Excavation Safety fact sheet to understand cave-in hazards and why protective systems matter.
This workflow is meant to reduce surprise movements, prevent strikes, and make your first hours smooth.
Input: the work plan (what you’re digging, where spoil goes, where people will stand).
Action:
Output: a jobsite that can’t wander into unsafe territory.
Done when: anyone can look at the site and tell where the excavator will swing and where people should not stand.
Input: dig location.
Action:
Output: marked utilities and a plan that respects the marks.
Done when: you’ve got locates complete and you have a soft-dig plan near marked lines.
Pro Tip: Beginners often think “I’m only digging shallow.” Utility lines can be shallow, too. Treat every dig like it could hit something.
Input: machine parked, engine off, controls locked out.
Action (quick checklist):
Output: fewer mystery failures mid-job.
Done when: you can point to one reason you would stop work (leak, crack, missing pin, damaged track) if you saw it.
If you want a deeper walkaround framework, this internal guide is a good companion: compact excavator beginner guide.
Input: operator station.
Action:
Output: no wrong-way boom/stick surprises.
Done when: you can say out loud which joystick controls boom vs stick before the engine starts.
Input: you in the seat.
Action:
Output: better situational awareness and fewer blind-spot mistakes.
Done when: you can see your intended swing area and travel path without leaning.
Input: machine ready, area clear.
Action:
Output: predictable response.
Done when: every control movement feels smooth with no jerks or delayed response.
These drills come from what experienced operators wish beginners did earlier. For deeper technique ideas, see mini excavator control practice drills.
⚠️ Warning: If you feel the machine rocking or the tracks climbing unevenly, your next move should be less throttle and smaller inputs—not “power through.”
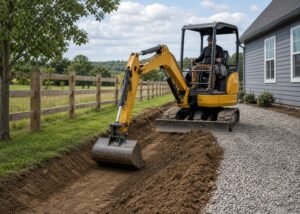
Input: trench plan, spoil plan, and hazard awareness.
Action (safe basics):
Output: a trench that’s workable without turning into a collapse risk.
Done when: you can explain where spoil goes and how you’ll keep people out of collapse zones.
If trenching is part of your job, OSHA’s trenching and excavation overview page is a useful companion: OSHA trenching and excavation overview.
Input: a bucket load.
Action:
Output: fewer near-tips and fewer bucket slams.
Done when: you can complete a load-and-dump cycle without track lift or rocking.
Input: end of work.
Action:
Output: fewer surprises next time.
Done when: you can confidently say the machine is safe to leave and safe to start tomorrow.
You don’t need to be a mechanic to avoid preventable downtime—just consistent.
| Interval | What to do | Why it matters |
|---|---|---|
| Daily | Walk-around leaks + pins/coupler glance | Prevents “small leak becomes big failure.” |
| Daily | Clean debris from undercarriage | Improves track life and reduces heat buildup. |
| Weekly | Check wear on bucket cutting edge/teeth | Worn edges reduce control and increase strain. |
| Weekly | Check fasteners you can visually inspect | Vibration loosens things—catch it early. |
Use this one as your visual rehearsal before touching the controls:
<div data-type="node-video" data-provider="youtube" data-url="https://www.youtube.com/watch?v=zb9D-TVtyT8" data-embed-url="https://www.youtube.com/embed/zb9D-TVtyT8"></div>
Beginners often buy based on weight class alone. A better shortcut is attachment readiness + access width + published hydraulics.
This internal guide walks through a spec-first framework (with an attachment angle): attachment-ready mini excavator checklist.
Most beginners can learn safe startup, basic travel, and simple digging in a day—if they train in the right order (boundaries → inspection → pattern check → slow drills). Precision work takes longer because it’s about smoothness, not strength.
Skipping site risk controls—especially utility locating and swing-radius awareness. The controls can be learned, but a utility strike or a swing-radius hit happens in seconds.
Yes. The patterns can swap which joystick controls the boom vs the stick. Confirm the pattern before operation using references like Wikipedia’s excavator controls patterns.
A shallow practice trench in open ground with no utilities, with clearly marked boundaries and a plan for spoil placement. Start small, prioritize smoothness, and stop the moment you feel rushed.
Yes. Cave-ins can happen without warning. OSHA’s Trenching and Excavation Safety fact sheet is a solid starting point for the basics.
Stop and simplify: warm up hydraulics, reduce throttle, and test each function slowly. If jerkiness persists, inspect for obvious leaks or damage and don’t continue until the cause is understood.
On the product page for the 2.0 Ton Excavator SM-20Eco.
If you tell me what job you’re doing first (trenching, drainage, landscaping, footings) and what attachments you plan to use, I can turn this into a one-page “start-of-day checklist” tailored to your workflow.