Telephone/WhatsApp:+86 156 2656 0610
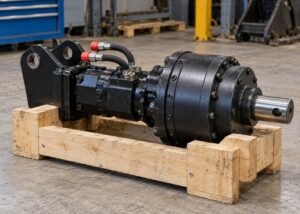
Telephone/WhatsApp:+86 156 2656 0610
Email:info@seekmach.com

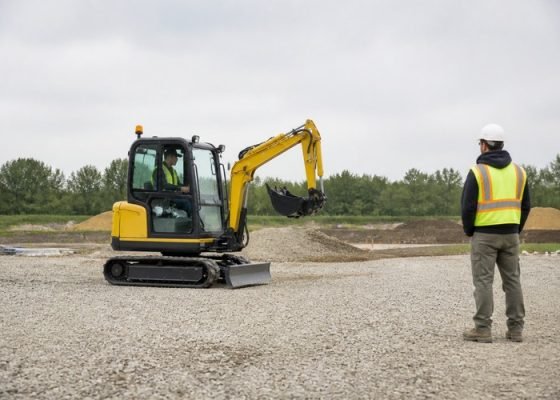
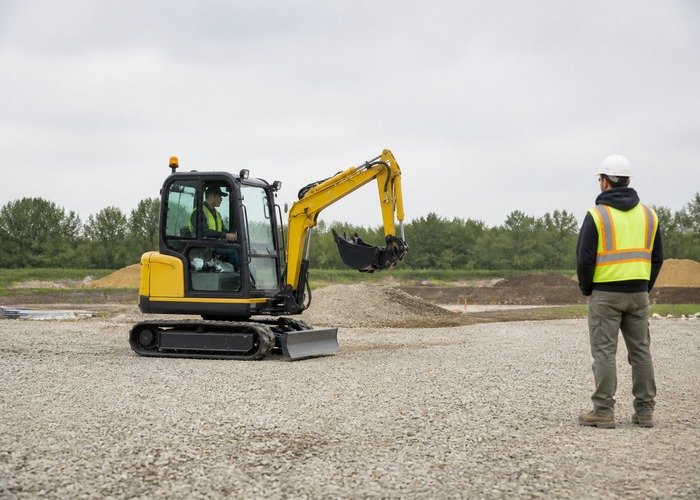
A mini excavator that veers left or right on level ground is not automatically suffering a failed final drive. Unequal track tension, packed debris, a dragging roller, control input, engine speed, hydraulic flow, swivel leakage, travel-motor wear, or final-drive damage can create similar behavior. The correct diagnosis compares the two sides under the same conditions and moves from visible, low-risk checks to instrumented hydraulic tests.
Do not test near people, trenches, slopes, traffic, overhead hazards, or soft shoulders. Use a wide, level surface, lower the blade and attachment before inspection, and follow the machine manual for lifting or blocking. Never stand beside moving tracks or search for a hydraulic leak with a hand. The NIOSH hydraulic safety guidance explains why a pinhole leak can inject fluid through skin.
Begin with a repeatable straight-line test rather than an impression from one pass. Record surface, travel mode, engine rpm, direction, distance, load, oil temperature, and how far the machine departs from a reference line. The pattern matters: a machine that always pulls to the same side differs from one that changes direction when traveling backward or after warming.
Clean loose mud from the tracks and choose firm, level ground with similar traction on both sides. Set the upper structure straight ahead, center the boom, carry the bucket low, retract the blade, select the specified travel speed, and use full equal pedal or lever stroke. Mark a start and finish line, travel both forward and reverse, and measure lateral departure rather than judging from the seat.
Repeat the test after swapping only one condition at a time. If the pull reverses with travel direction, examine linkage, pedal travel, track geometry, sprockets, and direction-specific motor behavior. If the same side remains slow in both directions, friction, restricted flow, pressure loss, swivel leakage, motor leakage, or final-drive resistance is more likely. A pull that appears only hot can indicate oil viscosity, internal leakage, brake release, or a failing bearing.
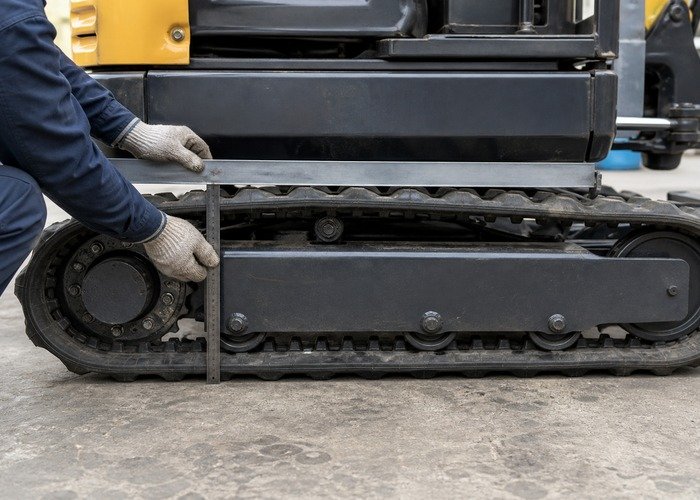
Measure each track using the exact machine procedure. Some manuals specify sag below a roller frame; others use clearance to the center roller after lifting one side. Do not copy a dimension from another model. Compare left and right values, track pitch, rubber damage, missing steel cords, sprocket wear, roller condition, idler alignment, and adjuster leakage. The existing mini excavator track tension guide provides a fuller inspection sequence.
An over-tight track consumes travel power and accelerates idler, roller and final-drive bearing wear. A loose track can climb the sprocket or rub guides. Remove packed clay, stones, roots and frozen material before testing. With approved lifting and blocking, rotate each track slowly according to the manual and listen for cyclic drag. Stop for a seized roller, damaged link, exposed cord, displaced idler, leaking adjuster, or metal debris.
Check engine rpm under travel load and note whether other hydraulic functions are slow. Low engine power, fuel restriction, derate, low oil level, overheated oil, incorrect oil, filter restriction, or a pump-control fault may reduce both travel circuits. If both tracks are slow, diagnose the shared supply before condemning one motor. If only one side is slow while boom and swing remain normal, compare that travel circuit.
Use the mini excavator hydraulic overheating guide when the symptom appears only after warm-up. Record oil temperature instead of describing it as hot. Aerated or contaminated oil, a blocked cooler, fan fault, or internal leakage can change travel behavior and damage new components if the root cause is ignored.
Verify that both pedals or hand controls reach equal full stroke and return to neutral. Check floor mats, debris, bent linkages, worn pins, cables, electronic sensors, connectors, neutral calibration, fault codes, and pilot pressure using the service manual. Small lost motion can reduce spool opening on one side while the machine feels otherwise normal.
On pilot-operated machines, compare command pressure at the specified ports in both directions. On electronically controlled machines, inspect live input percentages and commanded current before replacing valves. Never bypass a neutral switch, seat bar, lock lever, travel alarm, or other safety interlock to force a test.
The rotary joint carries travel oil between the upper structure and undercarriage while allowing the house to rotate. Worn internal seals can leak pressure between passages without an external drip. A useful clue is a tracking difference that changes with upper-structure orientation, but orientation alone is not proof because hose routing and control commands also matter.
Inspect external hoses and fittings, then follow the manufacturer’s pressure, case-drain, temperature, or isolation test. Do not randomly cap high-pressure lines. Map the pump ports, valve sections, swivel passages and motor ports first so every measurement has a clear meaning. Clean connections meticulously; contamination introduced during testing can create a new valve or motor failure.
Install only gauges, hoses and adapters rated for the maximum circuit pressure. Warm the machine to the specified temperature, use the prescribed engine speed, and compare left and right stall or relief pressure only under the service manual’s controlled procedure. Equal low pressure suggests a shared supply or setting; low pressure on one circuit can indicate relief leakage, valve leakage, swivel loss, brake-release trouble, or motor leakage.
Case-drain flow is often more informative than exterior temperature. Excess flow from one travel motor can indicate internal wear, but limits depend on pressure, temperature, direction and motor design. Route measured oil safely back to the approved container or port. The final-drive technical explanation illustrates why unequal motor performance must be separated from undercarriage resistance.
Park level, clean around the plugs, and position the housing as specified before checking oil. Note level, odor, color, water, metallic paste, chunks and plug condition. Never loosen a hot pressurized plug. Compare both sides, but do not assume dark oil proves failure; service interval, contamination and heat history matter. Use the mini excavator final-drive oil guide for sampling and refill discipline.
Grinding, cyclic clicking, metal fragments, abnormal housing temperature, seal leakage, excessive shaft play, or a track that remains hard to rotate after hydraulic isolation requires qualified service. The final-drive troubleshooting overview summarizes common mechanical symptoms. Replace the underlying restriction or contamination source before installing an expensive motor or gearbox.
If the machine tracks straight after track cleaning and adjustment, document the measurements and recheck after work. If one track is mechanically hard to rotate, repair undercarriage or final-drive drag first. If both tracks rotate freely but one has low command pressure, diagnose controls. If command pressure is correct but work-port pressure or case drain differs, isolate swivel, valve, brake and motor leakage in the manual’s order.
A second technician should review any test that requires raised tracks, stall pressure, line isolation, or work near stored energy. Record gauge calibration, test-port location, oil temperature and readings. This creates evidence a repair shop can use and prevents replacement of a good pump, swivel or travel motor.
After repair, repeat forward and reverse measurements on the same surface, at the same temperature and travel mode. Check neutral return, straight-line deviation, track temperature, abnormal noise, leakage and fault codes. Gradually add realistic load; do not jump directly to a slope or trench edge.
Reinspect track sag, plug leakage, hose clearance and fasteners after the manual’s run-in interval. Add the results to the mini excavator maintenance checklist. If the machine also wanders because the upper structure or attachment moves, separately assess hydraulic cylinder drift with the cylinder drift test guide.
A useful tracking worksheet has separate columns for left and right. Record measured track sag, number of damaged lugs, roller temperature, final-drive temperature, oil condition, travel time over a fixed distance, maximum work-port pressure, pilot command pressure and case-drain flow. Add oil temperature, engine rpm, travel mode and direction to every row. Without those conditions, two readings taken on different days cannot be compared reliably.
Inspect the machine identification plate and parts history before ordering anything. Travel motors that look alike can have different displacement, reduction ratio, brake arrangement or port configuration. A mismatched replacement can make one side permanently faster even when both units are healthy. Confirm part numbers using the serial number, not only photographs or mounting-bolt pattern.
Take clear photographs of the sprocket teeth, idler, rollers, track guides, motor ports, hose tags, oil plugs and any debris on a magnetic plug. Photograph gauges so the test port and reading are visible in the same sequence. These records let a technician distinguish undercarriage wear from hydraulic leakage without repeating hazardous tests.
The manufacturer track-tension maintenance video demonstrates the importance of using the model procedure. It should not be used to transfer one brand’s sag dimension to another machine. The OSHA heavy-equipment safety guidance also reinforces safe zones, visibility and competent operation around mobile equipment.
When estimating repair value, compare more than the price of a motor. Include contaminated-oil cleanup, hoses, seals, gearbox oil, sprocket wear, labor, transport and downtime. Replacing only the obvious component can be false economy if a blocked line, over-tight track, failed bearing or contaminated circuit destroys it again.
After the machine passes on level ground, test gentle turns and combined travel functions in a controlled area. A travel problem that appears only while booming or swinging may indicate pump sharing, priority control or engine-power limitation rather than a stand-alone drive fault. Record the change instead of forcing the machine through it.
Finally, give the operator a short daily check: clean the undercarriage, inspect tracks and leaks, confirm controls return to neutral, listen for new noise and report any pull before it becomes severe. Early evidence protects the track frame, final drives and jobsite safety.
| Observation | Likely area | Next evidence |
|---|---|---|
| Pull disappears after cleaning | Packed undercarriage | Track sag and roller rotation |
| Same side slow forward and reverse | Drag, pressure loss, motor or drive | Rotation, pressure and case drain |
| Pull changes with house orientation | Swivel or hose path | Mapped pressure comparison |
| Only pulls when hot | Leakage, oil, brake or bearing | Temperature-controlled retest |
| Both tracks weak | Engine, pump or shared control | Engine speed and system pressure |
This video shows a compact excavator final-drive service process. Use it to recognize the travel motor, gearbox, hoses and cleanliness requirements, not as a universal removal or torque procedure.
Before copying any step, obtain the serial-number-specific service manual and lifting method. Final-drive weight, hose arrangement, plug position, oil grade and torque values differ.
A video cannot confirm whether your fault is hydraulic or mechanical. Complete the track, control, pressure and case-drain comparisons first.
Keep the attachment lowered, isolate stored pressure, cap every open line and support removed components with rated equipment.
After installation, fill and bleed exactly as specified. Running a dry gearbox or motor can destroy the replacement within minutes.
Repeat the measured tracking test and inspect for leaks. A visually successful installation is not a verified repair.
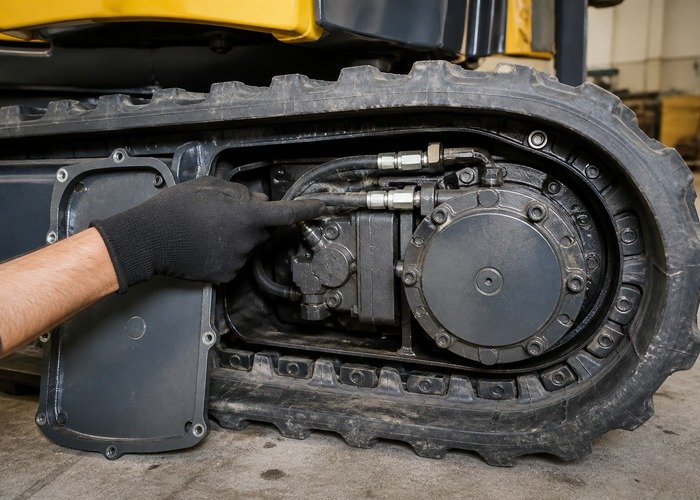
Yes. Excess tension creates drag, while looseness, damage or debris can change effective rolling resistance. Measure both sides to the manual specification.
No. Heat can come from track tension, a dragging brake, bearing damage, motor leakage, low oil or heavy work. Compare temperatures and measurements.
Only if the service manual provides an approved isolation procedure. Improvised hose swaps can create uncontrolled movement or contamination.
Warm oil can increase leakage through a worn swivel, valve or motor, while bearings and brakes may also change with temperature.
Stop for rapid worsening, grinding, metal in oil, severe heat, hose damage, track derailment, unsafe steering, or any test requiring unsupported raised equipment.