Telephone/WhatsApp:+86 156 2656 0610

Telephone/WhatsApp:+86 156 2656 0610
Email:info@seekmach.com

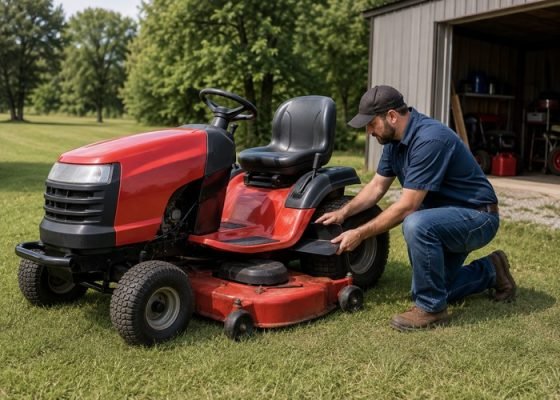
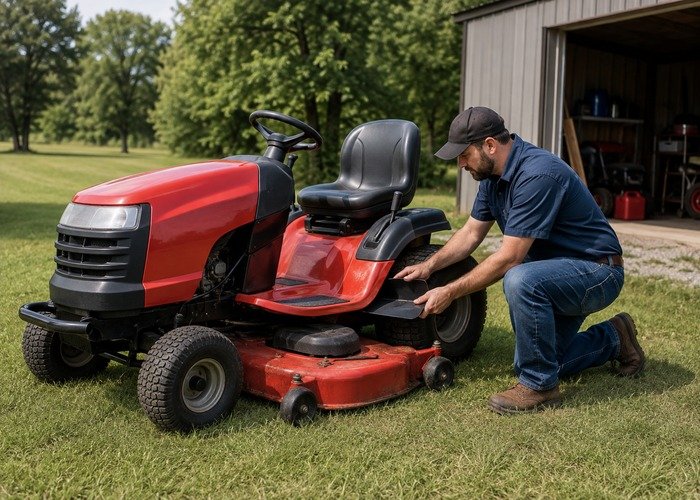
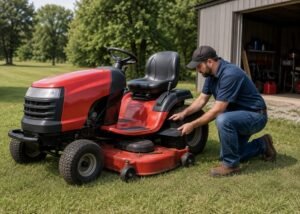
When riding mower blades will not engage, park on level ground, disengage the PTO, set the brake, remove the key, and wait for all motion to stop. Do not put hands under the deck or rely on the parking brake alone. Remove the spark-plug lead or isolate power only as the manual directs before inspecting a belt, clutch, pulley, or blade area. Start with the mower blade replacement guide and compare the present condition with the machine’s own history.
Does the engine run normally but the blades stay still, does the PTO switch do nothing, or does a fuse blow when engagement is requested? Check seat position, brake, neutral, reverse/override logic, battery condition, and warning indicators before removing a cover. Interlock systems are designed to prevent unsafe operation; never jumper a switch simply to see whether the blades will turn. Consult OSHA power-lawnmower guarding requirements before selecting a test method.
With power isolated, inspect the belt for glazing, missing ribs, frayed cords, incorrect routing, debris-packed pulleys, a broken idler spring, and a seized spindle. A belt can look present yet slip under load. Turn only the components that the manual permits by hand and stop if a blade, pulley, or spindle binds, wobbles, or contacts a guard. Keep the inspection focused with the commercial mower battery-planning guide.
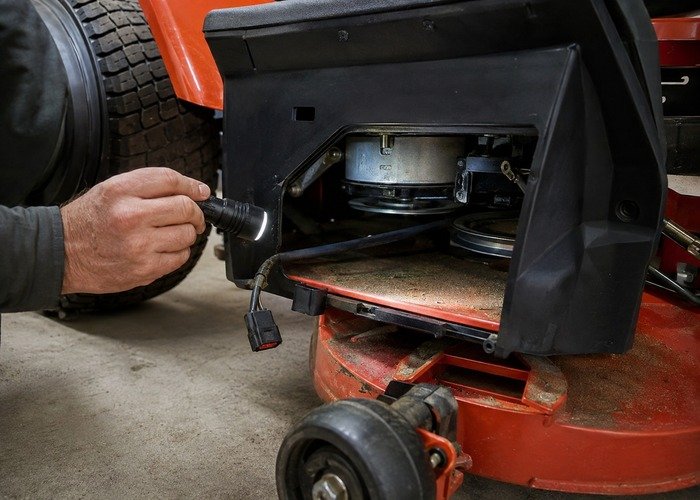
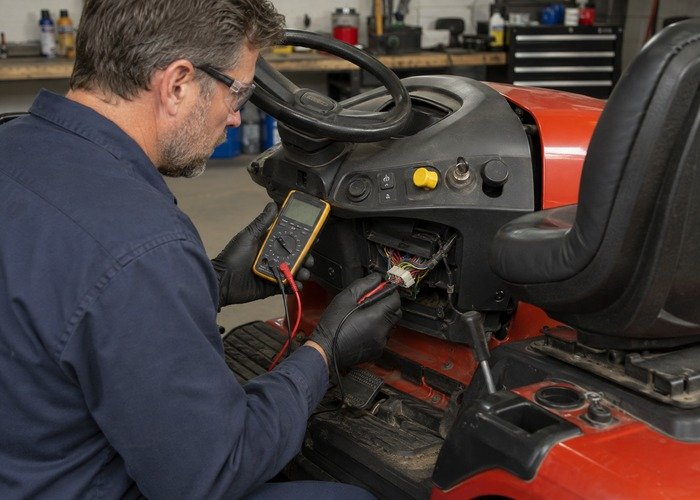
An electric PTO clutch needs adequate voltage at the clutch and a reliable ground. A battery that barely starts the engine can still be too weak for engagement. Inspect terminals, main fuse, charging indicator, and harness condition. Make measurements at the specified connector with a rated meter and the model procedure; do not probe randomly or short a connector with a test lead. Work from a written observation, not from a parts hunch. Record the machine serial number, hour reading, temperature, exact control position, warning lamps, and whether the fault changes after warm-up. A short record keeps the next step tied to evidence and avoids turning a simple connection, switch, or adjustment into an expensive replacement job. Review riding mower safety alert where it applies.
A practical sequence is switch, fuse, safety input, relay, harness, connector, ground, and PTO clutch. Use a wiring diagram for the exact model because wire colors and interlock logic vary. If voltage is absent at the clutch, work backward. If correct voltage is present but the clutch does not engage, the clutch, air gap, mechanical drive, or ground requires model-specific service. Use the operator and service manual for the exact model as the controlling document. Connector locations, fuse names, diagnostic ports, permitted test values, and safety interlocks differ between machines. Generic advice can help organize the inspection, but it cannot replace the specified procedure, rated instrument, or lockout method for the equipment in front of you. Review published mower troubleshooting chart where it applies.
A relay or clutch click is useful evidence but not a completed diagnosis. A failed belt, seized spindle, loose pulley, worn clutch face, or mechanical obstruction can still prevent blade rotation. Conversely, a deck that begins to move but immediately stops may be responding to a safety circuit or overload. Record the sound and exact sequence for the service technician. A useful diagnostic separates a fault that is present all the time from one that appears only under load, vibration, heat, moisture, or after an operator moves a particular control. Reproduce the symptom only in a controlled area. If the symptom is intermittent, write down the sequence rather than cycling the machine until the evidence disappears. Review blade-engagement troubleshooting video where it applies.
Guards and discharge equipment must be installed before operation. Use the specified test area, keep people clear, and do not operate a mower with removed covers. After disengaging, observe the manufacturer’s stated blade stop behavior from the seat; if the deck continues to rotate abnormally, shut down and service it before mowing. Use the operator and service manual for the exact model as the controlling document. Connector locations, fuse names, diagnostic ports, permitted test values, and safety interlocks differ between machines. Generic advice can help organize the inspection, but it cannot replace the specified procedure, rated instrument, or lockout method for the equipment in front of you. For related ownership checks, see the robot mower setup guide.
Restore covers, wiring clips, belt guards, and fasteners. Start from the operator seat, engage only in a clear area, and listen for vibration, scraping, belt smoke, or repeated fuse failure. Test cut quality only after the deck is confirmed secure and the grass condition is appropriate. A new belt or switch is not a repair if the underlying pulley, wiring, or safety issue remains. A useful diagnostic separates a fault that is present all the time from one that appears only under load, vibration, heat, moisture, or after an operator moves a particular control. Reproduce the symptom only in a controlled area. If the symptom is intermittent, write down the sequence rather than cycling the machine until the evidence disappears. For related ownership checks, see the robot mower setup guide.
| What you observe | What it can mean | Safe next step |
|---|---|---|
| Fault appears only after warm-up | Heat, resistance, oil condition, or a marginal connection | Repeat the specified test at the same temperature |
| Fault changes with load | Mechanical resistance, pressure loss, or an electrical supply problem | Use the model’s controlled test procedure |
| Fault is intermittent | Vibration, moisture, control or harness issue | Record the sequence and inspect connectors |
| Safety device does not behave normally | Potential serious hazard | Remove machine from service |
Work from a written observation, not from a parts hunch. Record the machine serial number, hour reading, temperature, exact control position, warning lamps, and whether the fault changes after warm-up. A short record keeps the next step tied to evidence and avoids turning a simple connection, switch, or adjustment into an expensive replacement job. This is an illustrative service-planning step, not a substitute for the machine-specific manual. Confirm the equipment model, serial range, and required values before making an adjustment or replacing a component.
Use the operator and service manual for the exact model as the controlling document. Connector locations, fuse names, diagnostic ports, permitted test values, and safety interlocks differ between machines. Generic advice can help organize the inspection, but it cannot replace the specified procedure, rated instrument, or lockout method for the equipment in front of you. This is an illustrative service-planning step, not a substitute for the machine-specific manual. Confirm the equipment model, serial range, and required values before making an adjustment or replacing a component.
A useful diagnostic separates a fault that is present all the time from one that appears only under load, vibration, heat, moisture, or after an operator moves a particular control. Reproduce the symptom only in a controlled area. If the symptom is intermittent, write down the sequence rather than cycling the machine until the evidence disappears. This is an illustrative service-planning step, not a substitute for the machine-specific manual. Confirm the equipment model, serial range, and required values before making an adjustment or replacing a component.
Before returning a machine to work, restore every guard, cover, connector lock, hose restraint, and fastener that was removed for inspection. Then run a low-risk functional check and look again for loose hardware, heat, leakage, abnormal noise, or a warning light. A repair is not complete because one test passed; it is complete when the normal safe configuration is back in place. This is an illustrative service-planning step, not a substitute for the machine-specific manual. Confirm the equipment model, serial range, and required values before making an adjustment or replacing a component.
Work from a written observation, not from a parts hunch. Record the machine serial number, hour reading, temperature, exact control position, warning lamps, and whether the fault changes after warm-up. A short record keeps the next step tied to evidence and avoids turning a simple connection, switch, or adjustment into an expensive replacement job. This is an illustrative service-planning step, not a substitute for the machine-specific manual. Confirm the equipment model, serial range, and required values before making an adjustment or replacing a component.
Use the operator and service manual for the exact model as the controlling document. Connector locations, fuse names, diagnostic ports, permitted test values, and safety interlocks differ between machines. Generic advice can help organize the inspection, but it cannot replace the specified procedure, rated instrument, or lockout method for the equipment in front of you. This is an illustrative service-planning step, not a substitute for the machine-specific manual. Confirm the equipment model, serial range, and required values before making an adjustment or replacing a component.
No. If a safety system, electrical circuit, hydraulic control, belt, guard, or holding function behaves abnormally, park the machine and follow the manufacturer’s instructions. Continuing to operate can turn a small defect into equipment damage or an injury risk. Use the mower slope and traction guide for a related site-owned check, and compare the model procedure with blade-engagement troubleshooting video before authorizing service.
Provide the model and serial number, hour reading, the exact symptom, a short video from a safe distance if appropriate, warning lamps, recent maintenance, temperature, load condition, and the results of only the tests authorized by the manual.
Keep the final record with the machine. A dated note that lists the fault, the approved measurements, parts installed, fluid or electrical checks completed, and the final functional test prevents the same symptoms from being treated as a new mystery at the next service interval.
Keep the final record with the machine. A dated note that lists the fault, the approved measurements, parts installed, fluid or electrical checks completed, and the final functional test prevents the same symptoms from being treated as a new mystery at the next service interval.
Keep the final record with the machine. A dated note that lists the fault, the approved measurements, parts installed, fluid or electrical checks completed, and the final functional test prevents the same symptoms from being treated as a new mystery at the next service interval.
Keep the final record with the machine. A dated note that lists the fault, the approved measurements, parts installed, fluid or electrical checks completed, and the final functional test prevents the same symptoms from being treated as a new mystery at the next service interval.