Telephone/WhatsApp:+86 156 2656 0610
Telephone/WhatsApp:+86 156 2656 0610
Email:info@seekmach.com

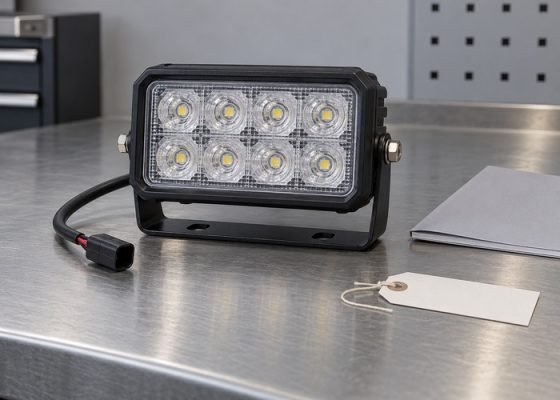
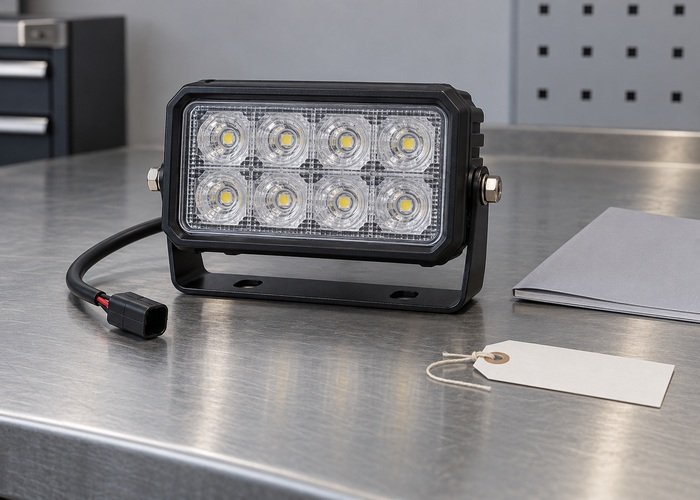
Choose mini excavator work lights by confirming the approved lamp assembly, its electrical and mechanical fit, and the useful illumination needed for the intended task. A higher lumen figure alone cannot establish suitability. The beam may miss the work area, create glare or leave important routes in shadow even when the lamp appears very bright.
A work-light replacement is also different from a complete site-lighting plan. This guide helps owners prepare a precise parts inquiry and coordinate acceptance with the person responsible for the worksite. It does not provide a universal voltage, wiring method, mounting point, light-output target or illumination standard for every excavator and task.
Start by describing the existing lamp and the problem. Is the concern a broken housing, water entry, damaged mounting, intermittent operation or inadequate task visibility? Keep those observations separate. An unlit work lamp does not prove that the lamp unit itself has failed; a qualified service provider may need to assess the wider installation.
Record the excavator model and serial information, the accessible lamp markings and the mounting location as identified in the applicable documentation. Distinguish work lamps from other lighting functions on the machine. A replacement selected for illuminating a digging area should not be assumed suitable for a different signaling, road-use or warning function.
Use the mini excavator spare-parts ordering guide to assemble the identification pack. Photographs are useful when they show the existing part and its context safely, but they cannot substitute for the actual electrical specification or an approved application reference.
Ask the supplier to confirm the proposed assembly for the identified machine and installation. The response should address the complete supplied item, required mounting parts, supported connection and applicable instructions. Similar dimensions and a familiar-looking plug do not establish that a lamp is a suitable replacement.
Electrical compatibility must be established from the machine and lamp documentation. Do not infer it from the number of connector pins or the fact that a unit briefly illuminates. Likewise, do not assume an LED replacement can use an existing circuit simply because its advertised power appears lower. The qualified installer should confirm the approved arrangement.
| Check | Useful evidence | What appearance cannot prove |
|---|---|---|
| Applicazione | Machine identity and approved part reference | A similar housing belongs on this machine |
| Electrical fit | Applicable circuit and product documentation | A matching connector establishes compatibility |
| Mechanical fit | Approved bracket, retention and clearance instructions | A lamp can be safely fitted wherever it fits physically |
| Useful illumination | Task and site review under intended conditions | A larger lumen figure covers every needed area |
Keep the supplier’s actual statements with the quotation. If an item is marketed as universal, ask for confirmation of this particular application rather than translating that word into approval. Where the answer requires a wiring adaptation, new mounting position or changed protective structure, stop the order decision until the responsible manufacturer or authorized provider has assessed the change.
Write down the task, working area, approach and exit routes, nearby activities and expected lighting conditions. This is more useful than asking for the brightest available lamp. The person assessing the work needs to understand where detail must be visible and where people or vehicles may approach, without relying on the machine operator to discover gaps during production.
UK HSE guidance on site lighting discusses natural and artificial lighting, obscuring shadows, safety-sign visibility and provision for lighting failure where needed. Those are site-planning considerations, not an endorsement of any lamp or a universal machine-mounted lighting layout.
For the parts inquiry, describe the intended use without inventing a technical target. A statement such as “replacement for the documented original work lamp, with site review required before evening work” gives a clearer responsibility boundary than “suitable for all night operations.” The latter claim cannot be established from a product label.
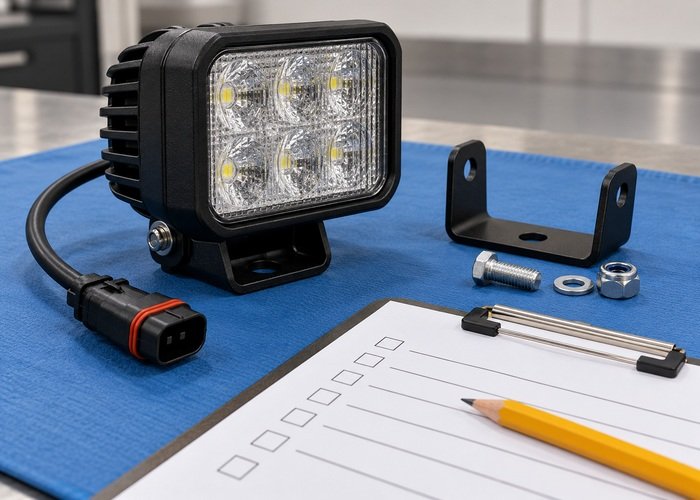
A nominal light-output number describes only part of a lighting decision. Ask what product information is available about the beam and intended application, then have the responsible person assess it in the actual work context. A concentrated bright area and a broad useful scene are different outcomes. Neither can be inferred reliably from a photograph of the illuminated lens.
HSE’s workplace-transport lighting guidance highlights lighting around vehicle movements and the problems caused by glare, shadows and transitions between differently lit areas. Apply those as questions for the site’s assessment. Do not transfer a general recommendation into a fixed mounting height or aiming angle for an unidentified excavator.
Include neighboring work areas in the review. A change that improves one operator’s view may affect someone approaching from another direction. Rain, dust, reflective surfaces and background lighting can also change the scene. If the conditions assessed differ materially from the planned work, the responsible person should decide whether further review or different controls are required.
Machine-mounted work lamps move with the equipment and may change the illuminated scene as the machine is positioned. They do not automatically light pedestrian routes, emergency routes, loading areas or every neighboring task. Keep the machine service job and the wider site assessment linked, with a named person responsible for each.
Document who will decide whether the intended operation can proceed when a lamp fails or visibility deteriorates. Avoid informal workarounds such as asking someone to stand near the machine with a light. Any temporary lighting arrangement needs the appropriate site and equipment assessment, including access, power and separation from machine movements.
IL daily inspection checklist can capture new lighting defects and outstanding restrictions. It should point to the applicable work plan and service record rather than encourage an operator to approve an unfamiliar lighting modification during a routine walkaround.
UK HSE maintenance guidance supports planned work by competent people using safe arrangements. For a lamp replacement, prepare the identified parts and applicable instructions before service, and give the installer the symptom history. Manufacturer procedures and local requirements determine the actual work.
This guide does not recommend splicing wires, changing fuses, bypassing switches or drilling protective structures. Where the proposed assembly cannot be fitted under the approved instructions, ask the responsible provider to resolve the mismatch. A temporary electrical success is not evidence that an adaptation is mechanically secure, environmentally suitable or compatible with the machine system.
Keep the old and proposed assemblies distinguishable during the handover. Save part identities, supplier correspondence and any approved superseding reference. If the supplied product differs from the agreed item, resolve that difference before installation. A substitution made at the bench should not quietly become the fleet’s new specification.

Record the installed assembly, service date, responsible installer and applicable instruction reference. Add the result of the required functional and installation checks. Then link to the site’s review of the intended working conditions. Keep any unresolved lighting concern open with a named owner and an appropriate restriction or follow-up decision.
A purchase invoice, an illuminated lamp and an operator’s casual comment each provide different evidence. None should be rewritten as a comprehensive site assessment. The acceptance record should say what was checked, under which conditions, by whom and what remains outside its scope. That makes it easier to revisit the decision when the worksite or task changes.
Use the broader mini excavator maintenance checklist to schedule ongoing observation. Repeated moisture, loose mounting, cable damage or intermittent symptoms should be investigated by the service provider. Replacing the same component repeatedly without retaining the pattern can hide a wider installation problem.
At a shift change, hand over any restriction directly and keep it visible in the equipment record. A new operator should not have to infer that a recently fitted lamp has only been functionally checked and the planned evening task has not yet been assessed. Clear status language helps prevent an unfinished decision from becoming an assumption.
It cannot settle the decision alone. Confirm approved compatibility and have the responsible person review the useful scene, including beam coverage, glare, shadows and surrounding activities. A bright lens does not show whether the required task is adequately lit.
A matching plug is identification evidence, not compatibility confirmation. The actual machine circuit, lamp documentation, mounting arrangement and approved installation instructions need to agree before a qualified person fits the assembly.
No. Machine lamps do not automatically cover all routes, people and neighboring tasks. Coordinate the machine’s condition with the site’s assessment and its arrangements for inadequate lighting or lighting failure.
Send the excavator identification, original lamp markings, safe photographs, observed defect and intended use. Request the approved complete assembly and instructions, and identify who will assess the lighting conditions before the planned task proceeds.